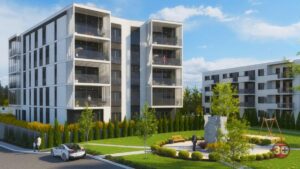
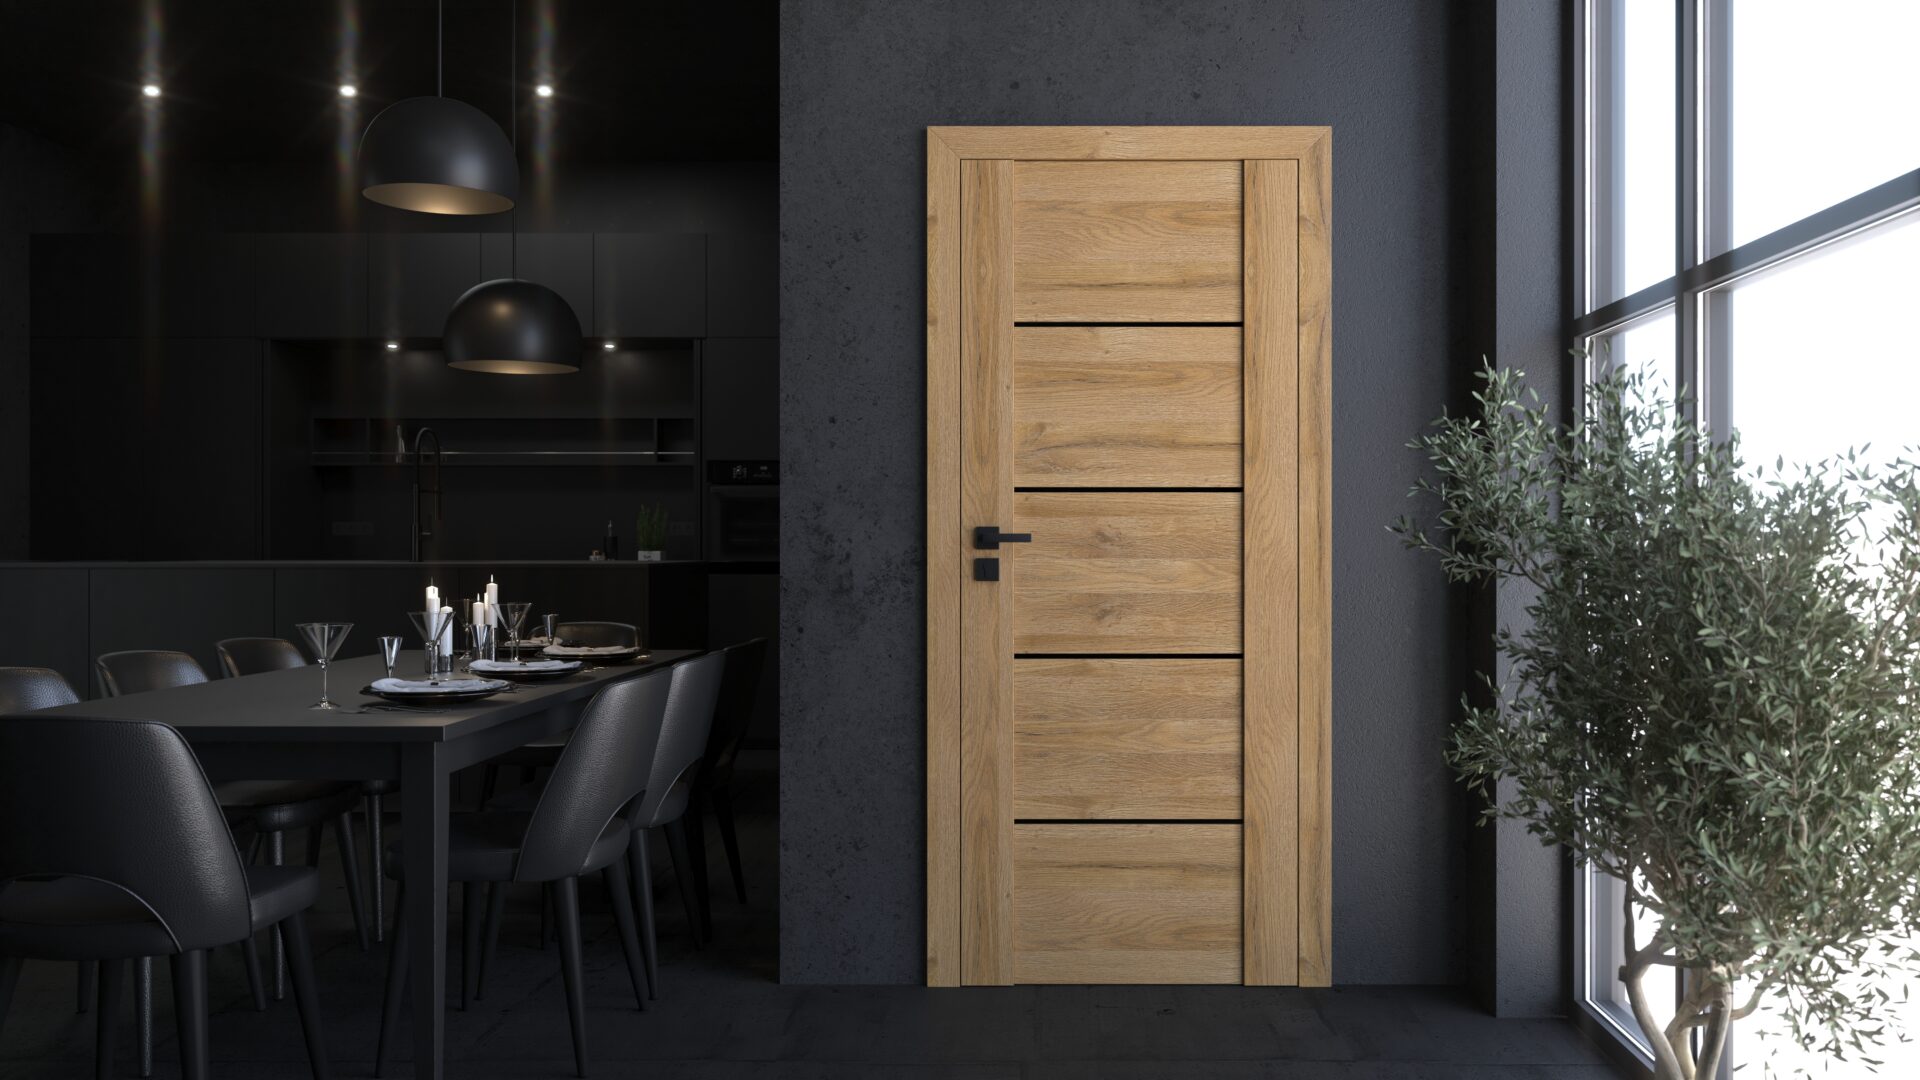
Interior visualizations are among the most effective marketing tools in real estate. They allow real estate developers to attract clients during construction by presenting attractive, photorealistic apartment and house interiors. What materials are needed, and how are they created?
What materials are needed to create interior visualizations?
To create realistic interior visualizations matching the investor's vision, we need several key elements:
1. Apartment or building floor plans
Basic architectural plans showing:
- the layout of walls, doors and windows,
- room heights,
- service installations, optionally.
2. Information about the interior style
The interior style should match the development's target audience. It is worth defining:
- the main buyer group: young singles, families with children or seniors,
- the development's setting: urban modernity, suburban luxury or affordable housing,
- the interior aesthetic, such as Scandinavian minimalism, classic elegance or industrial style.
3. Client inspiration photos
If the investor has a specific vision for the interior, useful examples include:
- interior photos conveying the desired style,
- finishing materials: floors, walls, furniture and lighting,
- preferred colour palettes.
The more detailed the client's information, the faster a visualization matching their expectations can be created.
The interior visualization process, step by step
1. 3D modelling
Using the building plans, we create a detailed interior model. At this stage:
- we build the walls, windows, doors and other fixed elements,
- we add furniture and decorations matching the selected style,
- we include details such as skirting boards, radiators and lighting.
2. Texturing and materials
Visualization realism depends on reproducing materials appropriately. In this step:
- we apply wood, stone, glass and fabric textures,
- we ensure realistic reflections, transparency and surface textures,
- we reproduce the materials supplied by the client.
3. Lighting and scene settings
Lighting is a key element of photorealistic visualization. We use:
- natural light: simulating sunlight and shadows according to the time of day,
- artificial light: ceiling lights, LEDs, wall lights and surface reflections,
- lighting optimisation techniques to achieve a natural-looking interior.
4. Rendering
Once the scene is ready, we perform the final rendering:
- we set camera views, including wide shots and detail close-ups,
- we render high-resolution images,
- we make corrections where needed, refining details.
5. Post-production
The final stage is refining the visualization in graphics applications:
- we adjust colours and contrast,
- we add subtle effects to emphasise the interior's atmosphere,
- we prepare files for publication in marketing materials.
How much does an interior visualization cost?
Interior visualization prices start at PLN 300 net per view, with a minimum package of two views of one interior.
Factors affecting the price
- The complexity of the setting and amount of detail.
- The number of ordered views: larger packages offer better prices per view.
- Additional services such as interior animations or virtual 3D tours.
Order professional interior visualizations
To present your development attractively and effectively, get in touch today: Contact
Also explore our other articles: